部署你的 rails 應用程式至 Heroku
Heroku 是一個 platform as a service 平台,可以部署專案在此,使用上非常方便的,當然方便的代價是價格,他的單位計算資源價格會高於 AWS。
安裝 heroku-cli
見 https://devcenter.heroku.com/articles/heroku-cli
1 | # 將 heroku 加入 brew 的來源 |
登入 Heroku 帳號
1 | heroku login |
一般我們使用 git 來部署應用程式至 Heroku,在下個步驟前,確認你的專案已經使用 git 做版本控制了。
設定 git remote
新建一個專案叫 app_name:
1 | heroku create app_name |
已經在Heroku 上建立專案了則使用:
1 | # set git remote heroku to https://git.heroku.com/app_name.git |
設定 Rails app
使用 Postgres 作為資料庫,將下列這行加入 Gemfile :
1 | # Gemfile |
設定資料庫連線資訊:
1 | # config/database.yml |
在 config/environments/production.rb 中對 assets 與 log 做設定
1 | # config/environments/production.rb |
指定使用的 Ruby 版本,新增檔案 .ruby-version填入:
1 | # .ruby-version |
在專案的根目錄下建立一個 Procfile 檔案 ($ touch Procfile),並填入以下內容:
1 | # Procfile |
設定 Heroku
在 Heroku 管理介面 > app_name > Settings > Reveal Config Vars,DATABASE_URL 這個環境變數,填入的是你的 production database 的連線位址與帳號密碼,Heroku 會預設幫你填入他提供的 Postgres 資料庫。
接著 Add buildpack,加入 heroku/nodejs buildpack 並放在 heroku/ruby 之前:

有需要 node_modules 者才需要做這個步驟
部署
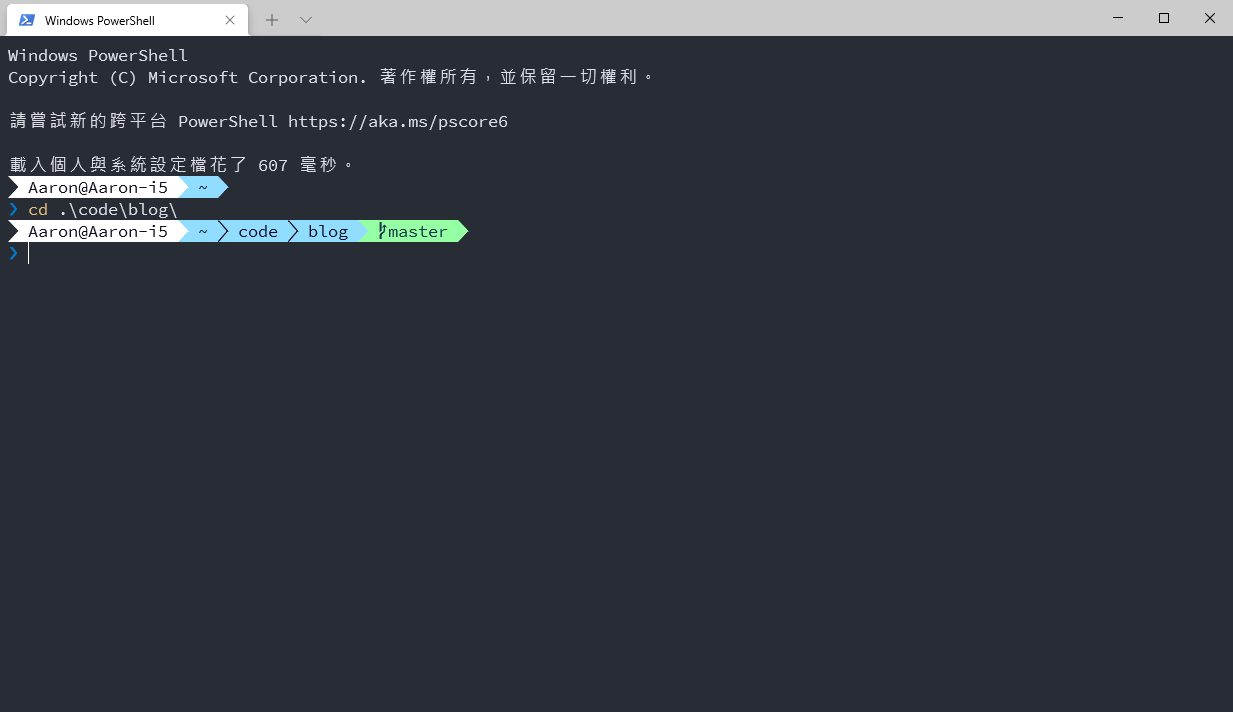
在部署前 git commit 把要部署的專案放置在 master 分支下,然後:
1 | # push master 分支到 heroku remote |
有新的 database migrations 時執行:
1 | # heroku run + 要運行的指令,這次要做 database migrate |
部署你的 rails 應用程式至 Heroku
https://blog.yang-hong-xin.com/deploy-your-rails-app-to-heroku/