安裝 Hexo
1
| yarn global add hexo-cli
|
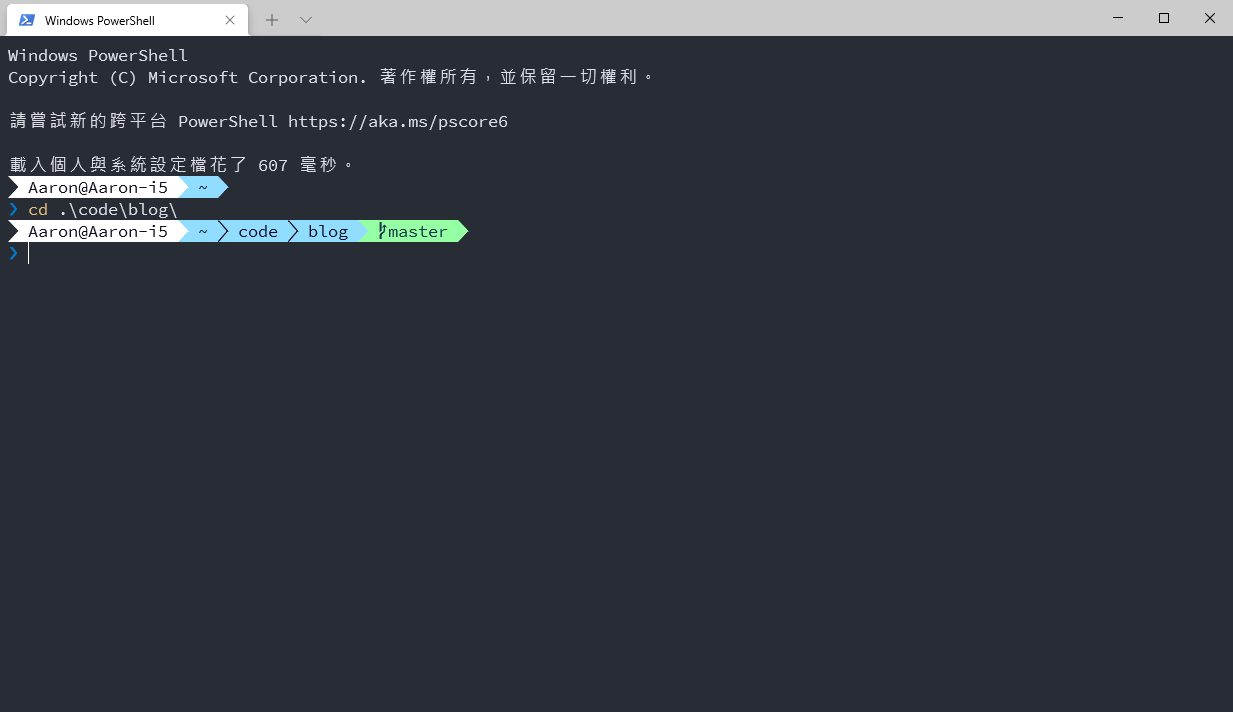
建立 blog 專案
主題設定
用 git submodule 管理主題,這裡使用 yilia
先 Fork https://github.com/litten/hexo-theme-yilia 到 https://github.com/jk195417/hexo-theme-yilia
添加成 git submodule 到專案的 themes/yilia
1
| git submodule add https://github.com/jk195417/hexo-theme-yilia.git themes/yilia
|
修改_config.yml
安裝外掛
hexo-generator-json-content
1
| yarn add hexo-generator-json-content
|
_config.yml 加上
1
2
3
4
5
6
7
8
9
10
11
12
13
14
15
16
17
18
19
|
jsonContent:
meta: false
pages: false
posts:
title: true
date: true
path: true
text: false
raw: false
content: false
slug: false
updated: false
comments: false
link: false
permalink: false
excerpt: false
categories: false
tags: true
|
hexo-generator-sitemap
1
| yarn add hexo-generator-sitemap
|
_config.yml 加上
1
2
| sitemap:
path: sitemap.xml
|
hexo-generator-feed
1
| yarn add hexo-generator-feed
|
_config.yml 加上
1
2
3
4
| feed:
type: atom
path: atom.xml
limit: 20
|
再到 themes/yilia/_config.yml 修改
1
2
| subnav:
rss: "/atom.xml"
|
部署至 Github Page
至 _config.yml 填寫部署配置
1
2
3
| deploy:
type: git
repo: "https://github.com/jk195417/blog.git"
|
指令